 I am going to show you how to start a blog fast in a few easy steps.
First we will create a blog using free websites.
Then I will show you how to start a website with blog very cheap.
It’s good to know you do not have to spend any money to start a blog.
You can start your own blog in less than 5 minutes from now.
Making a blog is not difficult, you can start blogging for free.
Table of Contents
How to Start a Blog?
You have two options available to you:
- Free websites (known as web 2.0 sites)
- Paid hosting (buy a domain name and web hosting)
The paid option does not have to be expensive.
You can buy a domain name really cheap these days.
Hosting is very cheap too.
However, if you want to start blogging completely free we have you covered.
How to Start a Blog for Free
There are many free blogging platforms out there.
I am going to make this super simple for you.
The best blogging platform to use is Blogger (powered by Google).
This is because Google love Google.
So, if you want to get traffic to your free blog, you need to use a Google blogging platform.
First of all let’s run through all the other alternatives.
Select a Free Blogging Platform
We highly recommend using Blogger.
Here are all the top blogging platforms that are completely free of charge:
- Blogger
- WordPress
- OverBlog
- Weebly
- Strikingly
- BlogFreely
- Yola
- Wix
- WebsiteBuilder
- Webself
- Nation2
- Own Free Website
- Aircus
- Penzu
- PostBit
- Website2
- Site123
- ImCreator
- Tumblr
- ConstantContact
- Minds
- All4Webs
You can start a free blog at any of those websites.
Please note that some of these free websites are limited to 5 pages or so.
This is why we recommend using Blogger as your free blogging platform.
Blogger allows you to post as many blog posts as you need to completely free of charge.
Setting up Your Free Blog
Now you know which free blogging platform is the best to use, let’s get the blog set up.
First of all head on over to Blogger.com.

Go ahead and click the “CREATE YOUR BLOG” button.

You can choose to use an existing Google account.
If you do not have a Google account or would like to blog under a different account go ahead and select “Use another account” (circled red).
For this tutorial we will set up a new Google account.

Now select “Create account” (circled red).

Select the option to indicate that you want to create a blogging account for yourself.

Enter your name and the username you want to use.
Then create your password and hit the “Next” button.
Make sure you note down the login details, you will need these to log into your blogging account.

Enter your phone number, this will be used to verify your Google Blogging account.
Sometimes this step is not required, it depends on your location.
Click the “Next” button after submitting your phone number.

The code to verify your phone number will be sent to your phone via a text message.
Enter the code and hit the “Verify” button.

The last step is to enter some account recovery details (optional).
Go ahead and enter your date of birth and gender.
Now hit the “Next” button.
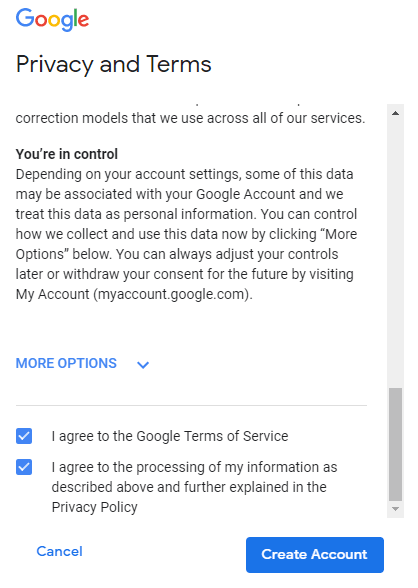
Go ahead and agree to the Google terms of service and hit the “Create Account” button.
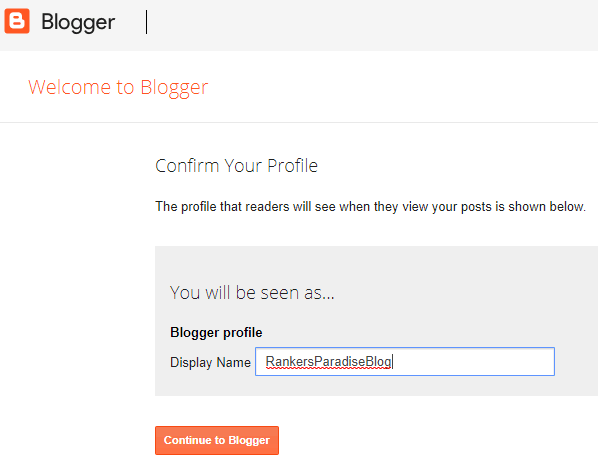
Now pick a Display Name for your blogging profile.
Then hit the “Continue to Blogger” button.
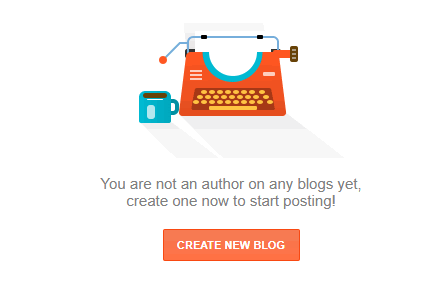
Go ahead and hit the “CREATE NEW BLOG” button.
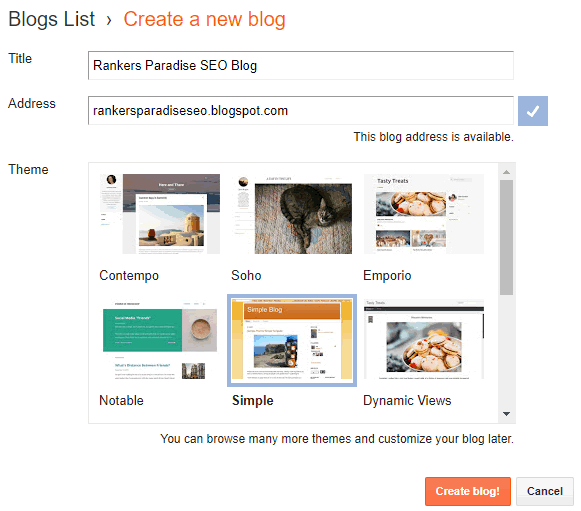
Set your blog TITLE and give your blog a name.
Go ahead and click on a Theme that you like the look of.
Now hit the “Create blog!” button.
How to Make Your First Blog Post
Now your free blog it is up and running it is time to create your first post.
I will show you how to add some text, images and links.

After setting up your free Blogger blog you will see this page.
Go ahead and click the “New post” button.

Go ahead and give your new blog post a TITLE (circled red).
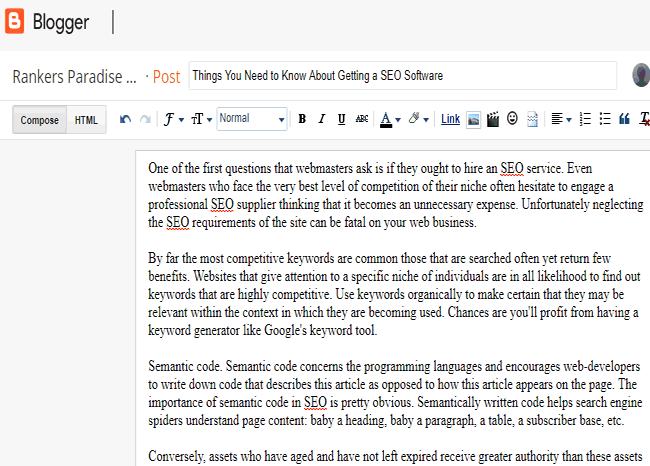
Go ahead and start writing your first blog post within the content area located under the TITLE.
You can use the tool bar to highlight text, bold and italic text as you go.
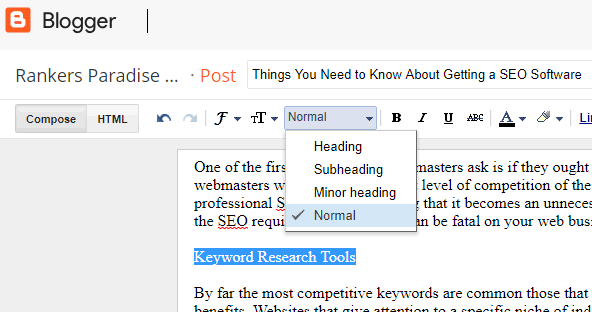
To add a heading into your blog post:
First highlight the text that you want to use as a heading.
Then click the drop down menu on the tool bar as shown above.
Go ahead and select the heading you wish to use:
- Heading
- Subheading
- Minor heading
That’s it, you now have a heading in your new blog post.
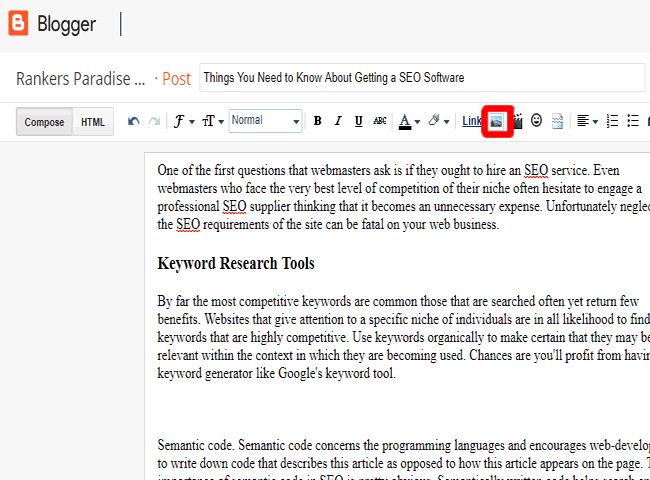
To add an image to your blog first of all clear some space within the content to add your image.
Select where you want the image to go and hit the enter button on your keyword to create a new line break.
Now go ahead and select the image icon on the tool bar (circled red).
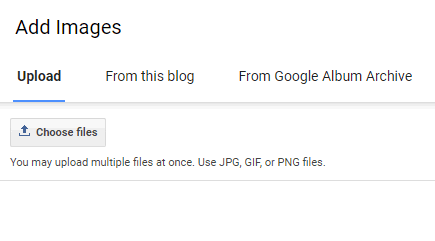
Now click on the “Choose files” button as shown in the image above.
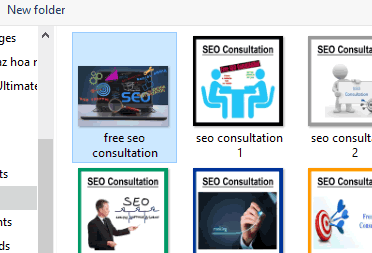
Double click on the image you want to add into your new blog post.
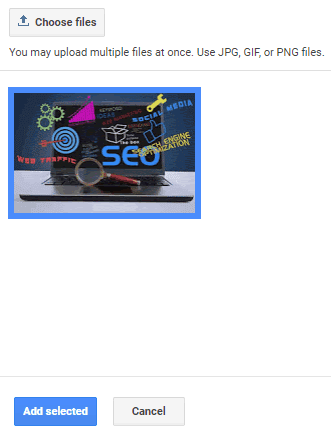
Now go ahead and hit the “add selected” button, this will place the image into your Blogger blog post.
When the image is added to your post you can resize and realign by clicking on the image.

Clear some space within your content where you would like the video to feature.
Hit the enter button on your keyboard to create space within the blog body content.
Now hit the video icon on the tool bar (circled red).
You can upload a video from your hard drive.
The easiest and fastest option is to select a video from YouTube.
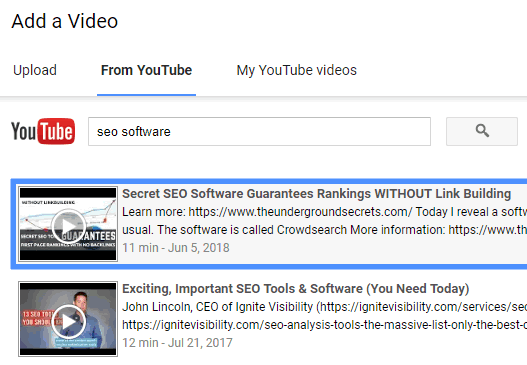
First of all select the “YouTube” tab.
Then enter some keywords in the search bar to find a video that is worthy of going into your new blog post.
Click on the video that you like the look of, it will be highlighted blue as shown above.
Now hit the “Select” button.
Then you will see the video placed within your blog post.
Yes it is that simple.
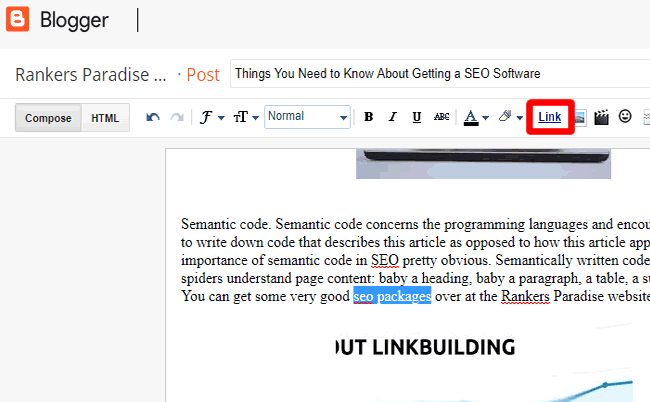
If you want to link to another website from within your blog post do the following:
First of all highlight the text (as above) that you want to link to another website.
Then go ahead and click the “Link” text (circled red) on the tool bar.
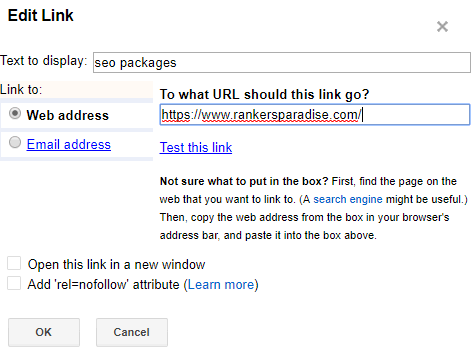
Now you can enter the web address of the website you want to link to from within your blog post.
You can select to open the link in a new browser window and to add the nofollow tag.
For details about the nofollow tag go here.
Now go ahead and click the “OK” button to insert a link into your new blog post.
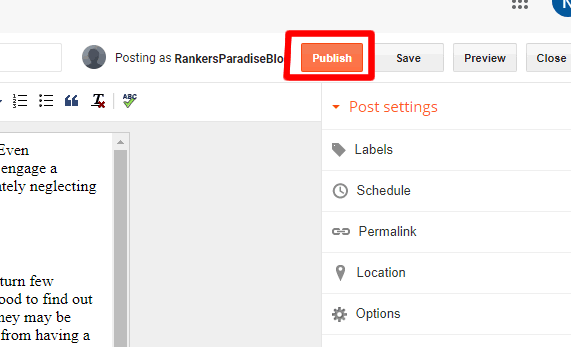
Before you go ahead and publish your first blog post you can tinker with the post settings.
You will see the post setting and “Publish” button to the right hand side of your screen.
From there you can alter your post:
- Labels
- Schedule
- Permalink (the blog address of your new post)
- Location ( this is good if you are writing about local aspects)
- Options (allow blog comments and set HTML uses)
When you have these set as you want them go ahead and hit the “Publish” button (circled red).
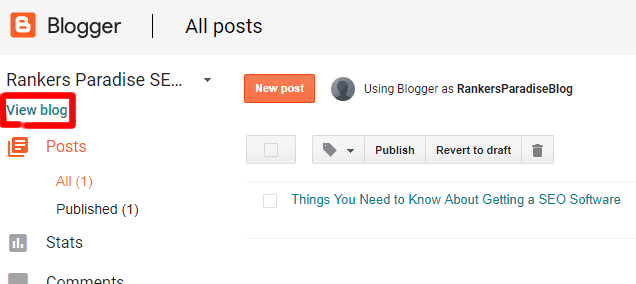
After you have published your new blog post you will be taken to the start screen again.
To view your new blog post on your new website click the “View blog” text (circled red) at the top left of your screen.

Your new blog will open up in a new browser window.

If you need to edit your new blog post simply go back to your blogger dashboard.
Hover your mouse over the blog post TITLE you want to edit, then you will see the “Edit” text show up.
Go ahead and click on the “Edit” text to make changes to your blog post.
That’s all the basics covered.
You now know how to start a blog for free and how to make your first blog post fast and easy.
As always, if you have any questions about this please leave a comment below.
For details on how to set up Tumblr and Weebly free blogging platforms go to our web 2.0 backlinks post.
How to Start a Blog – Buying a Domain Name and Hosting
If you want your own website address on your very own blog then you are going to have to spend some money.
I am going to show you the fastest and cheapest way to get your paid blog up and running.
Of course you have many options available, I will reveal the best if you are working on a low budget.
I know from much experience what works and what does not work.
This is the best way to get your blog up and running today.
You have a few things you need to take care of:
- Purchase your domain name
- Purchase website hosting
Let’s get started.
How to Purchase a Domain Name for Your Blog
The very best place to purchase your domain name is Name Cheap.
You do not need to look around at other vendors.
Take it from me, this is the best place to buy your domain name.
They offer free WhoisGuard forever (other charge for this).
This will help protect your privacy.
If you do not have this anyone can find out who owns your blog.
Go ahead and head on over to the Name Cheap website.

Enter the name you want to call your blog.
Then hit the search button.
If you are unsure about what to name your new blog you can use this website to generate cool blog names.
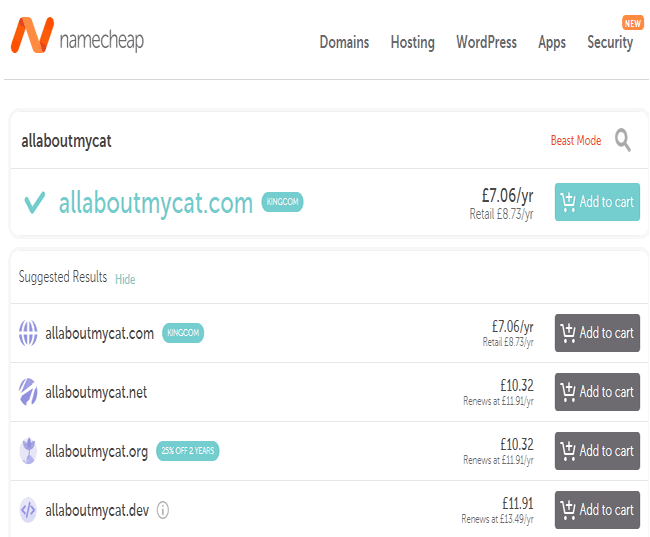
Select the domain name that you want to buy and add it to your cart.
You can then view your cart, confirm your order and then pay for your new domain name.
Stay in your Name Cheap account, you will need to point your domain name at the servers where you are going to purchase the hosting.
Do not worry, this is very easy to do in a few simple steps.

From your Name Cheap dashboard domain list click the “MANAGE” button next to your newly purchased blog domain name.

Go to the “NAMESERVERS” section (circled red).
We are going to use BlueHost to host our new blog.
So, our domain name must be set to point to the BlueHost servers.
Go to Custom DNS and enter:
- ns1.bluehost.com
- ns2.bluehost.com
That’s it, you now own your blog domain name and it is pointing at the BlueHost servers.
Next we need to purchase our hosting with BlueHost.
How to Purchase Hosting for Your Blog
Without any doubt, the best hosting for anew blogger on a low budget is BlueHost.
Another option is SiteGround, however they are a little more expensive.
If you are looking to set up a blog for the lowest possible cost then BlueHost is the best option.
First of all head on over to the BlueHost website.

Go ahead and click the “Get Started” button.
As you can see, with BlueHost you get a free SSL certificate.
This will ensure your blog is secure, which helps with ranking your website in Google search results pages later down the line.

As you can see, the basic package is very affordable and is perfect for one blog.
If you are looking to set up more blogs later down the line then the “Plus” package will be a good option.
Do not worry at this stage, you can upgrade your package at any time.
At this point go with the cheapest option.
Hit the “Select” button.
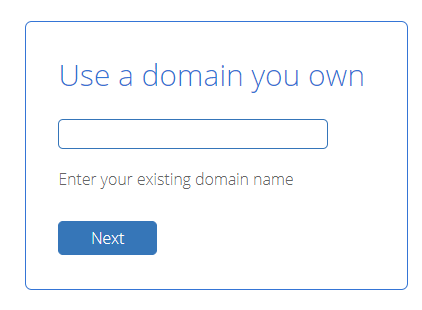
Enter the name of your blog that you just purchased at NameCheap and hit the “Next” button.
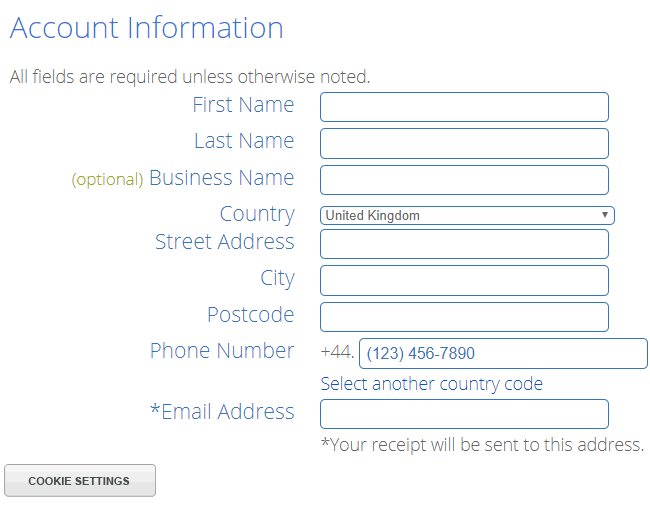
Now you need to enter your account information and payment details.
Then go ahead and click on the “Submit” button.
That’s it, you now have a domain name and hosting purchased for your new blog.
How to Set Up Your WordPress Blog on BlueHost
Go ahead and log into your BlueHost account.
The domain you purchased earlier will be assigned to your account.
If you want to assign other domains/blogs to your BlueHost account do the following:

Select the “Domains” tab on the top menu bar.
Under “shortcuts” select “Assign a domain to your cPanel account”.
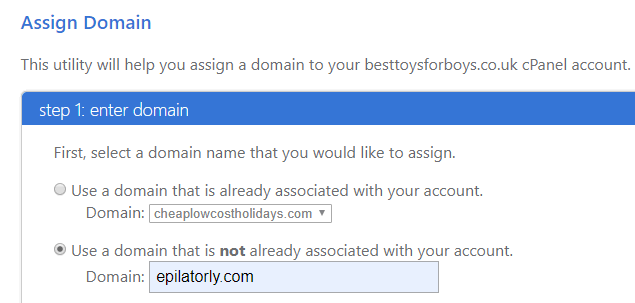
Click the “Use a domain that is not already associated with your account” radio button and enter your domain name as shown above.

Scroll down to step 3 and ensure the “Addon Domain” radio is selected.

Scroll down to step 4 and create a new directory as shown in the image above.
Then go ahead and click the “assign this domain” button.
Now let’s add the WordPress blogging platform to our domain/hosting.

From the top menu select “WordPress tools”.
On the left menu make sure you have “New Install” selected.
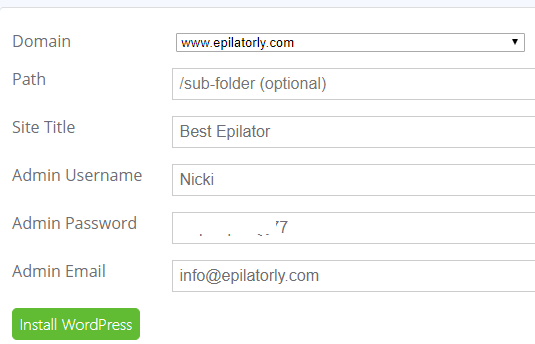
Scroll down and ensure the correct blog name is selected.
Leave the Path box clear, we want the blog to show on the index page.
Enter your:
- Site Title
- Admin Username
- Admin Password
- Admin Email
Write these details down, you will need these later to log into your new WordPress blog.
Now hit the “Install WordPress” button.
You will now see a “Pending” icon while BlueHost is installing your WordPress blog on your domain.
It only takes a few minutes to complete.
Before we leave BlueHost you can enable SSL for your blog.
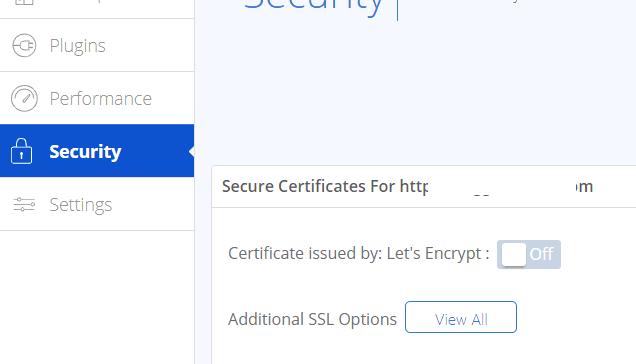
Scroll down the left hand side menu and select the “Security” tab.
Then turn the “Certificate issued by: Let’s Encrypt:” to the “ON” position.
You will then see the “Pending” sign again.
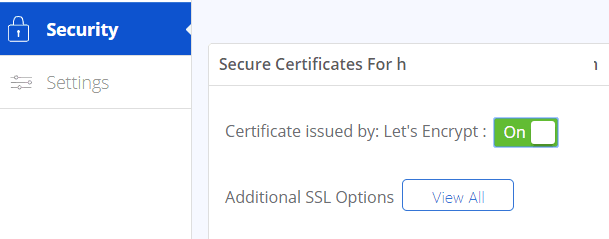
You will see the GREEN ON sign when your SSL security certificate is enabled as shown in the image above.
Now it is time to log into your new blog and start blogging.
![]()
Go to your favourite web browser and enter your blog domain name followed by /wp-admin/
This will take you to the login page for your new blog.

Enter your login details from earlier and hit the “Log In” button.
Now you will see your WordPress blogging dashboard.

You can change the look of your blog by selecting “Appearance” and changing the theme.
You can read more about changing your WordPress theme there here.
To add a blog post to your WordPress blog select:
Posts then “Add New” as shown in the image above.
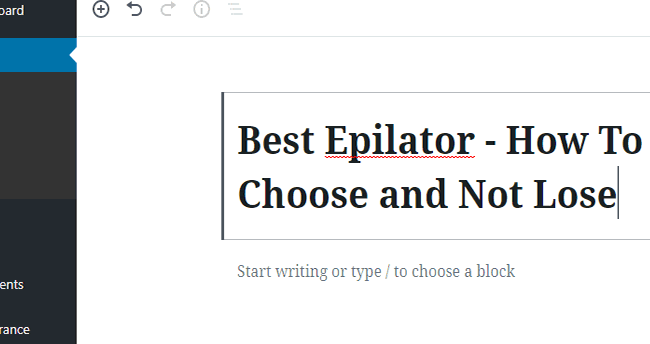
Give your blog post a TITLE by entering the words into the box at the top of the post.
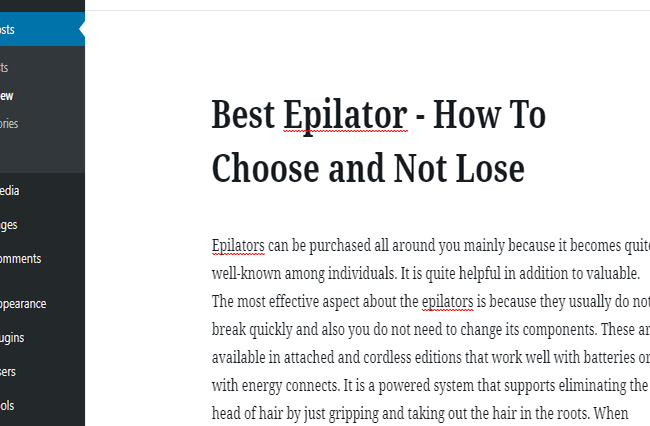
Type in the box below the TITLE to start writing your blog post.
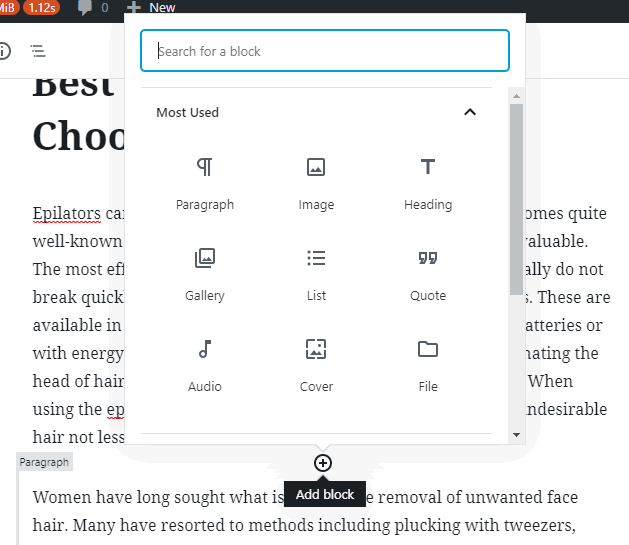
To add any media to your WordPress blog post look for the + sign.
Select the media type from the box, as shown in the image above.
To publish your new post hit the “Publish” button located at the top right of your screen.
To view your new blog head on over to your blog URL in your preferred browser window.
How to start a blog?
Use:
- Blogger (free)
- WordPress (paid)
When you have a blog you will want to start getting some traffic to it.
The easiest way to do this is through search engine optimization, which you can do yourself for free.
For details on how to get your website on top of google and get traffic to your blog follow the link.
Thank you so much, you made it so easy to follow, I thought starting a blog would be a lot of hassle.
I started a free blog with Blogger as you state, I added Adsense and now I am making $10 to $20 per day. This is all down to your post right here, thank you so much. I now have the money to set up my own independent blog on WordPress, which is my dream.
Very in-depth tutorial 🙂 This is great for anyone just starting out. I used to use Blogger when I first started, but I found the html side of it to be too irritating. I’ve since switched to WordPress and am self-hosted. But fantastic tutorial.
I didn’t realise you could start a blog free and actually make money from it, thank you so much for sharing.
Thank you for the information, I was looking to start a blog and did not know it was possible to monetize a free blog. So it is possible to make money online without spending any 🙂
I didn’t realise you could start a blog for free, is it possible to show Google Ads on the free Blogger blog to make money from the free website?
If you´re looking to start a blog or an online store then getting a top-quality hosting for your website should be a top priority.